
When it comes to storing and organizing supplies, my eyes start shimmering. I’m very excited to write this post about storing our beloved candles, new or leftover ones, and all the equipment that we have as candle makers.
Before diving into the nitty-gritty of the topic, a swift and to the point answer to the question that may have brought you here:
Candles should be placed in a metal or plastic container and stored in an enclosed, cool and dry place (i.e. cupboard or chest) that doesn’t have direct exposure to the sun throughout the day. The temperature should be between 10°C (50°F) and 30°C (86°F) with humidity less than 50 dew points.
In this post, I’ll guide you through how and where we store our newly created homemade candles and all the equipment, tools, and raw materials such as wax, wicks and essential oils.
Best Ways to Store Candles and Supplies
After the first batches of candles, you will realize that you need some space, not a warehouse, but you will need a safe place where to store your candles with some organization to make sure that you remember the scents and when you created them.
The most important thing is finding the best location or locations. We live in London (UK) and, since space is a commodity in our tiny flat, we decided to go for a “distributed” approach when it comes to storing candles, supplies and equipment.
We have been lucky to have found three perfect locations that satisfy these basic rules for the sweet spot:
- the location doesn’t have direct exposure to the sun throughout the whole day (living in the UK also helps :))
- the location is in a dry and cool place
- the location doesn’t have high levels of humidity (kitchens & bathrooms have much more humidity than other rooms)
The same rules apply if you want to find the perfect room (or shed) to contain your candle making workshop.
Our “divide et impera” approach consists of having newly created candles inside an enclosed shelf in our living room, raw materials and equipment in a chest on the floor in our small studio, and empty containers and essential oils in a cupboard in our bedroom.
The studio is also where we store our packaging material, but this one is in a locker with plenty of other things!
If you have candles made in glass jars or tins, they are already self-protected by the elements (dust & debris), and you can go ahead storing them without other steps. However, if you have pillar or taper candles to store, the process is slightly different because you must protect them first before storing them.
There are some actionable tips about this protection in a previous post on packaging candles safely that you can check out.
We wrap each candle with a layer of wax paper, and then we place one close to the other in a container made of metal, wood or plastic. In this way, we store them to guarantee that they won’t have any dust and debris, but also any damage.
Supplies usually come in their containers. We often buy wax in bulk that comes with very sturdy plastic bags. After we have used some wax, the raw material for the subsequent batches remains there, and we seal it with a couple of heavy-duty binder clips. Same for the waxed wicks. We store these materials in a plastic container placed in our studio chest, so if some wax powder remains in the container without spreading all around.
We also place our equipment in the same chest. It’s big, and there is space for the pot for melting the wax, thermometer, scale and stirring spoon, leftover candles, along with some other valuable things such as a dust sheet roll (we use the dust sheet as a cover to make sure that any spill of wax won’t go on the floor or furniture).
Essential oils are fragile, and we don’t want to mix them with raw materials or candles. That’s the reason why we have them in another plastic container inside our bedroom garderobe. The plastic container keeps the essences away from evaporating and holds the scent from fading away. In the exact location, we also store empty tins and jars that we will use in the subsequent batches.
That’s our secret and distributed stash. It takes a bit of time when we decide to create a new batch of candles. There is a preproduction process where we fetch all the things we need after covering our kitchen with a dust sheet roll and a postproduction phase. After we clean everything, we have to put everything back in its place in the most efficient way, but that’s homemade candle making!
How to Store Leftover Wax, Open Essential Oils and Dirty Supplies
Leftover candles are a great resource to keep and store! When it comes to leftover candles, we aren’t putting too much effort into preserving them for the other candle.
That’s why we store them in the studio chest, with the raw materials, tools and equipment in a pseudo-random order. But why we keep them, then?
For two main reason:
- reuse the container
- remelt the leftover wax
We aim to be eco-friendly. We store any container that we can then reuse for new candles. Sometimes, we have an idea for an experiment and having leftover candles help us out in not having to waste wax if the experiment miserably fails.
For example, the last experimental batch we did was all about floating candles using hard-plastic leaf-shaped moulds. The experiment didn’t pay off: some were floating, others not – but at least we didn’t waste any new wax, just one wick for nine floating candles.
We suggest creating your pile of leftover candles from the ones you buy in the stores because you can always reuse their containers.
If you want to “experiment” with leftover candles, any place is fine for storing them.
Essential oils are trickier because once you open a bottle, there is always the risk that the essence fades away in time. The best advice is to make sure that you never end up with leftover essential oil and you use every drop for the candles you make.
If you end up with some leftover essential oil, you can make some “Frankenstein” candle with all the leftovers. In this way, you don’t have to store the opened essential oil bottles, or you can instead put some essential oils in a diffuser or a couple of drops in your pillows. Just use them instead of storing them.
The throw scent of a candle made with an essential oil bottle that was already open is way incredible less effective than a freshly used one.
What about dirty equipment instead? You can either store it dirty and remelting the wax that solidifies on it the next time or clean it before storing it.
I like how solid wax covers and embellish the melting pot and stirring spoon; it makes everything more real. The only thing I always clean up as better as possible before storing it is the mixer that we use to add essential oils to the liquid wax because any leftover there may influence the scent of our future candles.
Again, after they cooled down and all the equipment is either cleaned or solidified, we place them in the chest on the studio’s floor, where everything belongs.
6 Tips to Maximize your Storage Cabinets
Depending on where you live and space you can or want to allocate to your homemade side hustle, we found some little tricks that may help you optimize the space in your cabinets, shelves or chests.
1. Ecapsulate
Encapsulating candles or supplies into other containers is a good practice to save space within a cabinet or chest and preserve the raw materials such as wax, wicks and essential oils.
The containers you can use are so many. You can look in any massive store and find plenty. Get the containers with their lids and make sure that they close correctly, airtight even better.
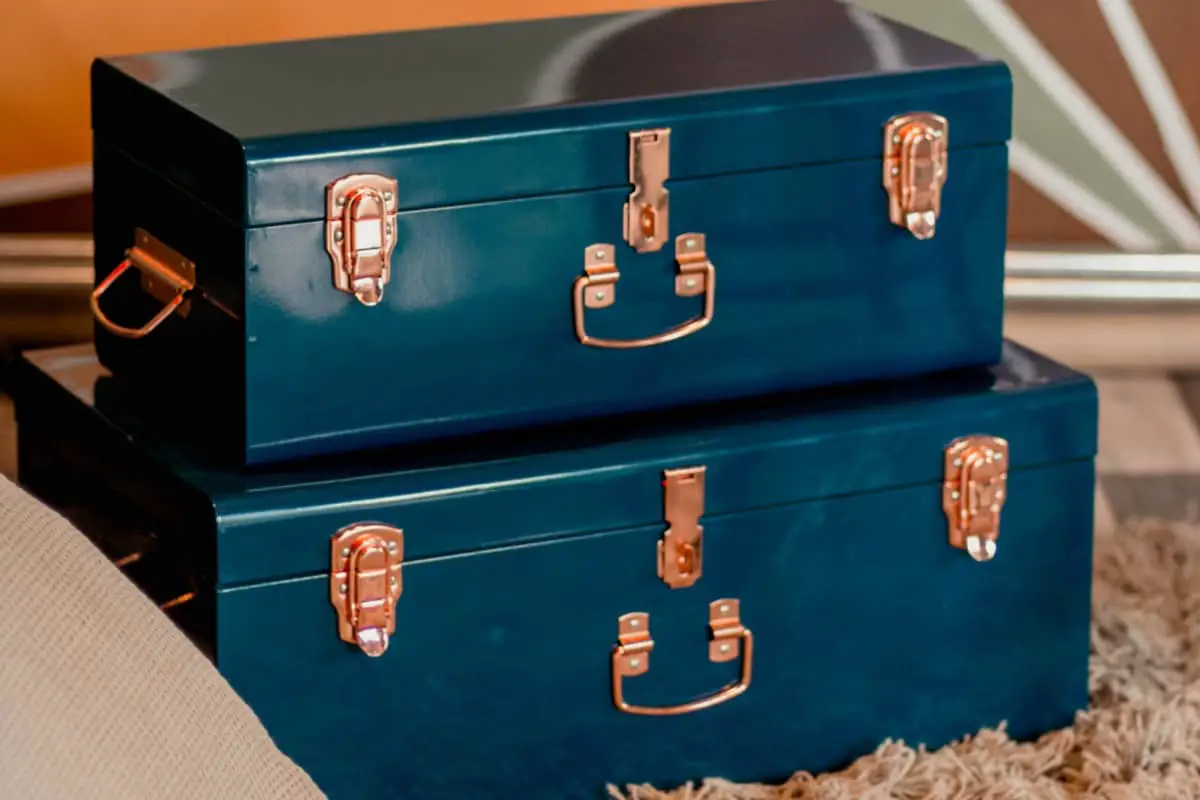
There are also other containers, such as metal or wooden ones, but they are likely more expensive and way heavier. The container weight is a factor to consider because it will gain way more weight when it’s filled up with our candles and equipment, and if it’s not on the floor, it may cause some damage to the structure that sustains it.
2. Mezzanine
Mezzanines are the space organizers for excellence – I call them mezzanine because I don’t know their name, but their function is to place them on a shelf, and they create another usable and stable stand within that.
The other surface will double the capacity of candles in cupboards and shelves. Instead of stacking them on top of the others, you will place them in the two layers created by adding the mezzanine.
3. Distribute
If, like us, you live on a tiny flat, or you don’t have much space to dedicate to your candle making hobby, you can use the “divide et impera” approach.
As we explained above, we have three different spots where we place all our candle making stuff, from raw resources to new candles and even packaging.
Our dream is to have a workshop in our shed, with everything at our disposal, anytime. But for now, this distributed approach works pretty well.
4. Grouping
Grouping items together make more efficient all the phases of the homemade candle making process.
For example, in our chest, we have raw materials, equipment and dust sheet cover, so when we decide to make a new batch, we take everything out from there and start setting it up for our workshop in the kitchen.
Then when all is ready, and we are about to start melting the wax, we go to our bedroom and take essential oils and containers grouped.
At the end of the process, we store the new candles in the living room, where they wait to be packaged and shipped.
The locker is the last place where we go when we need packaging material.
By grouping your items depending on the project’s activity and phases, you’ll have a bird-view of your entire inventory: what is about to run out or expire and what we have to buy again soon.
5. Expose
Candles are just pleasant to see. Nothing stops you to expose your creation, maybe on a cabaret or a plate in the centre of your table.
Expose also means to let them circulate if you aren’t sure of selling them. Just gift your candles to your neighbours and get feedback from their use.
Storing is good, but letting your candle burn is better!
6. Spring Clean
Once in a while, take an afternoon and go through all your resources and locations, clean up and see what surprises you will find. Maybe some mould? Or a lost batch of candles or a bottle of essential oil left there the year before and still ready to throw a great scent out.
It’s a good practice to go over the cabinets, shelves and chests once in a while to clean up and remove the dust that may corrupt your candles.
